Welcome !
Register Now
Shopping Cart
Your basket is empty Check Out

Project ideas

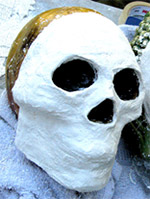
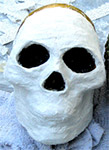
Rappit Plaster Skull (Mask)

Using a foam skeleton skull, Sandtastik's Rappit Plaster Molding Cloth and a few simple to find materials here is a quick and easy way to design your own mask.

PREPARATION

Place foam skeleton skull on a sturdy surface.  (Ex.. Table, counter, desk, etc..)
STEP 1:
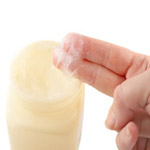
Prepare desired surface with a thin layer of petroleum jelly. This will help to remove finished casting with ease and make clean up a snap.
   
STEP 2:
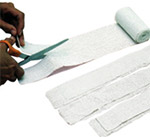
Cut Rappit Plaster Molding Cloth into thin strips and set aside.
   

STEP 3:
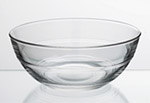
Pour cool water into a wide bowl to a depth of about 1". With wet hands, dip a strip of Rappit Plaster Molding Cloth into cool water and place onto surface of your skull


STEP 4:
Repeat this process, slightly overlapping previously layed strip, until you obtain desired size and shape.
HINT: You can encourage texturizing/smoothly of plaster surface by gently gliding over surface with wet finger tips.


STEP 5:
Let dry for a few minutes before attempting to remove from surface.
(Optional) Can be air cured or placed in microwave to dry. (30 sec. intervals)

 
HINT: You can strengthen mask by adding more Rappit Plaster Molding Cloth strips to the inside of mask so as not to distort facial features.
   

STEP 6:
Optional: Once mask is thoroughly dry, use a fine grit sandpaper and gently sand surface to desired finish.


STEP 7:
Now you're ready to paint and decorate!


STEP 8:
Feel free to add accessories for a personal touch.

 by Prof. Mindboggle

back